A Step-by-Step Guide to Capturing the Beauty and Uniqueness of Doll Art
5/14/20242 min read
Step-by-Step Guide to Capturing the Beauty and Uniqueness of Doll Art
Are you a doll enthusiast looking to showcase the beauty and uniqueness of your doll collection through photography? Taking the perfect picture of a doll requires attention to detail and a few simple techniques. In this guide, we will walk you through the step-by-step process of capturing stunning doll photographs that truly highlight the artistry and charm of your dolls.
1. Set the Stage
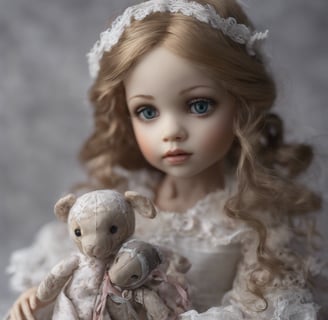
The first step in doll photography is creating an appealing backdrop that complements the doll's features and character. Choose a background that enhances the doll's colors and style. Consider using props such as miniature furniture or accessories to add depth and context to the scene. Experiment with different textures and colors to find the perfect combination that brings out the doll's unique charm.
2. Lighting is Key
Proper lighting is crucial for capturing the beauty of a doll. Natural light is often the best choice as it brings out the doll's colors and details. Position your doll near a window or in a well-lit area, making sure to avoid harsh shadows. If natural light is not available, use soft, diffused lighting to create a gentle and flattering glow. Avoid using direct, harsh lighting that can wash out the doll's features.
3. Find the Perfect Angle
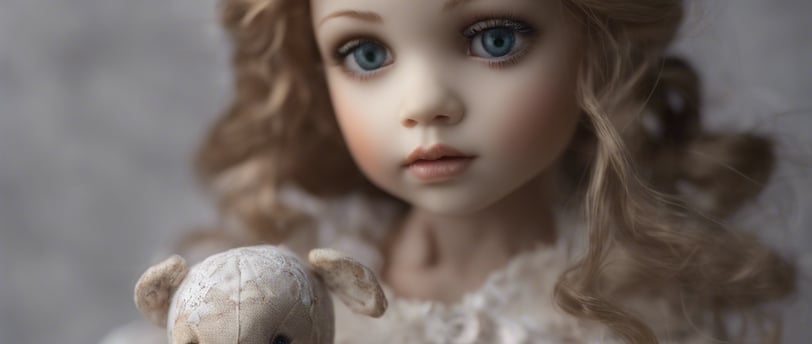
Experiment with different angles to find the most flattering perspective for your doll. Get down to the doll's eye level and try shooting from various angles to capture different expressions and details. Play with depth of field by adjusting the focus to highlight specific features, such as the doll's eyes or intricate accessories. Don't be afraid to get creative and try unique angles to showcase the doll's artistry.
4. Pay Attention to Details
When photographing dolls, it's the little details that make a big difference. Take the time to ensure that the doll's hair is neatly styled and any clothing or accessories are properly arranged. Use a small brush or cotton swab to remove any dust or lint from the doll's face or body. Pay attention to the doll's posture and position, making adjustments as needed to create a natural and appealing composition.
5. Edit and Enhance
After capturing your doll's beauty through the lens, it's time to enhance the final image. Use photo editing software to adjust the brightness, contrast, and colors to bring out the doll's unique features. Be careful not to over-edit and maintain the doll's natural appearance. Experiment with different filters or effects to add a touch of creativity, but remember that simplicity often highlights the doll's artistry best.
By following these simple steps, you can capture stunning photographs that showcase the beauty and uniqueness of your doll art. Remember to experiment, have fun, and let your creativity shine through in each image. Happy doll photography!